Post-Processing for Digital Artistry: The Finishing Touch That Changes Everything

Chosen theme: Post-Processing for Digital Artistry. Welcome! Today we explore the art of transforming good pieces into unforgettable visuals through thoughtful color, texture, light, and output craft. Subscribe and join the conversation as we polish creativity together.

Whether starting from a RAW photograph, a 3D render, or a digital painting, begin with a clean base file and keep edits layered. Last summer, a tiny white balance shift rescued a moody illustration’s twilight atmosphere. What baseline saves yours?

Build a Non-Destructive Post-Processing Foundation

Convert key layers to Smart Objects and drive tonal changes with Curves, Levels, and Selective Color as adjustments. Revisit decisions anytime without wrecking pixels. If this approach changed your life once, tell us which adjustment you can’t live without.

Build a Non-Destructive Post-Processing Foundation

Read the Picture: Histogram, Vectorscope, and Waveform
Scopes reveal imbalances our eyes miss. Check the histogram for clipping, the vectorscope for skin and palette cohesion, and the waveform for luminance consistency. Calibrate your intuition with data, then grade bravely. What scope changed your practice most?
LUTs, ACES, and Intentional Pipelines for Artists
LUTs can kickstart a look, ACES can standardize color across apps, and controlled pipelines keep surprises pleasant. A friend’s stylized comic series found its soul after adopting an ACES-based workflow. Have LUTs ever sparked your favorite look?
Mood-Driven Palettes That Carry Narrative
Anchor mood with deliberate hue families: teal-orange for tension, earthy reds for warmth, eucalyptus greens for calm. Use split toning to separate emotional foreground and background. If your protagonist had a color, what would it be and why?

Texture, Detail, and Believable Sharpness

Split structure and color to retouch without plasticity. On illustrations, separate brushstroke texture from tonal gradients to refine edges while preserving style. It feels like cleaning a window without touching the glass. Tried it outside portraits yet?

Texture, Detail, and Believable Sharpness

Denoise first, then sharpen what remains. Target edges, spare flat areas, and use blend-if or luminosity masks. On a night cityscape composite, selective sharpening kept neon crisp while protecting sky gradients. What balance works for your art?

Light Sculpting in Post

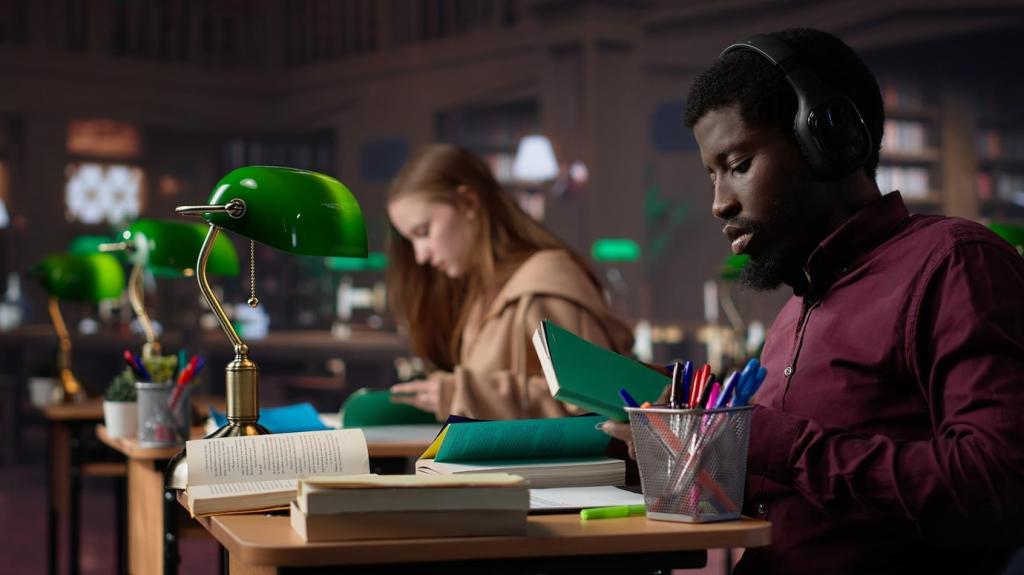
Paint light like a director: highlight the protagonist, dim distractions, and respect material properties. Low-opacity brushes build believable form. My favorite piece came alive after a gentle eye-light dodge. Where would you add a whisper of brightness?

Light Sculpting in Post

Use blend modes like Soft Light, Overlay, or Color Dodge on neutral gray layers to sculpt. For 3D, combine diffuse, specular, and ambient occlusion passes strategically. Share a before/after—what blend mode surprised you recently?

Compositing That Feels Real

Match horizon lines, verify vanishing directions, and scale elements using known references. A quick grid saves hours of patching. I once fixed a dragon’s size by matching cobblestone width. What’s your fastest perspective check?

Compositing That Feels Real

Feather edges to match lens softness, remove color spill with defringe tools, and add micro-noise for cohesion. Seamless edges disappear into the scene’s texture. Have you tried painting tiny edge shadows to anchor objects convincingly?

Compositing That Feels Real

Shadows inherit ambient color, not pure black. Paint contact shadows slightly warmer or cooler depending on environment light. Add subtle reflection blur to polished surfaces. Post a composite and we’ll guess the light color you chose.

Output, Color Management, and Finishing

Spaces and Gamuts: sRGB, Adobe RGB, Display P3

Choose a space that fits the destination. Web prefers sRGB; modern devices love P3; print often benefits from wider gamut masters. Embed profiles and test. Which space gives your highlights the glow they deserve?

Soft Proofing for Print Reality

Simulate paper white and ink limits, then nudge curves and saturation accordingly. A gentle bump in midtone contrast can rescue matte paper dullness. Share your favorite paper stock—what profile nails your signature look?

Export Pipelines That Respect Quality

Automate sizing, sharpening, and compression tailored to platform. Keep a pristine master, export derivatives, and verify on multiple screens. We maintain a checklist template—want it? Say “send the export checklist” in the comments.

Automation, Collaboration, and Archiving

Capture repetitive tasks as presets or actions—tone stacks, export sets, and naming routines. A tiny script once saved me 400 clicks during a poster series. Which task begs to be automated in your studio?

Automation, Collaboration, and Archiving

Keep incremental saves, label adjustment layers, and include notes for collaborators. Smart Object links can pass editable vectors and renders. Your future self counts as a collaborator—what naming convention finally stuck for you?
Elmpaint
Privacy Overview

This website uses cookies so that we can provide you with the best user experience possible. Cookie information is stored in your browser and performs functions such as recognising you when you return to our website and helping our team to understand which sections of the website you find most interesting and useful.